Why You’ll Love This Recipe
- Kid-Friendly: The roll-up format makes them easy for little hands to hold and enjoy.
- Quick and Easy: With just a few simple ingredients and steps, you can have these ready in no time.
- Versatile: Customize with different cheeses or add fillings like ham or bacon to suit your taste.
- Perfect for Dipping: Their shape makes them ideal for dipping into soups or sauces.
Ingredients
- 8 slices of soft white bread
- 8 slices of cheddar cheese
- 2 tablespoons butter, melted
(Tip: You’ll find the full list of ingredients and measurements in the recipe card below.)
Directions
- Prepare the Bread: Start by cutting the crusts off each slice of bread. Then, use a rolling pin to flatten each slice to about 1/4-inch thickness.
- Add Cheese and Roll: Place a slice of cheddar cheese on each piece of flattened bread. Roll the bread tightly around the cheese, pressing gently to seal the edges.
- Butter the Roll-Ups: Brush the outside of each roll-up with melted butter, ensuring all sides are coated.
- Cook: Heat a non-stick skillet over medium heat. Place the roll-ups seam-side down in the skillet. Cook, turning occasionally, until all sides are golden brown and the cheese is melted, about 3-4 minutes.
- Serve: Remove from the skillet and serve immediately, preferably with a side of tomato soup or your favorite dipping sauce.
Servings and Timing
- Servings: This recipe makes 8 roll-ups, serving approximately 4 people.
- Preparation Time: About 10 minutes
- Cooking Time: Approximately 5 minutes
- Total Time: Around 15 minutes
Variations
- Cheese Options: Experiment with different cheeses like mozzarella, Swiss, or pepper jack for varied flavors.
- Add-Ins: Include thin slices of ham, turkey, or crispy bacon inside the roll-ups for added protein.
- Spreads: Spread a thin layer of mustard or pesto on the bread before adding cheese for extra flavor.
- Bread Choices: Try using whole wheat or multigrain bread for a healthier twist.
Storage/Reheating
- Storage: Place any leftover roll-ups in an airtight container and refrigerate for up to 3 days.
- Reheating: To maintain crispiness, reheat in a skillet over medium heat until warmed through. Alternatively, reheat in a preheated oven at 350°F (175°C) for about 10 minutes.
FAQs
What type of bread works best for grilled cheese roll-ups?
Soft white sandwich bread is ideal due to its pliability, but you can also use whole wheat or multigrain bread for a healthier option.
Can I use shredded cheese instead of slices?
Yes, shredded cheese works well and can make rolling easier. Just be sure to distribute it evenly.
How can I prevent the roll-ups from unrolling during cooking?
Placing the roll-ups seam-side down in the skillet helps seal them. If needed, secure with a toothpick, but remember to remove it before serving.
Can I make these in advance?
While best enjoyed fresh, you can prepare the roll-ups ahead of time and refrigerate them. Cook them just before serving for the best texture.
What dipping sauces pair well with these roll-ups?
Tomato soup is a classic choice, but marinara sauce, ranch dressing, or even a cheesy dip work well.
Are there gluten-free options for this recipe?
Simply substitute the bread with your favorite gluten-free bread to make this recipe gluten-free.
Can I add vegetables to the roll-ups?
Thinly sliced vegetables like bell peppers or spinach can be added, but ensure they are cut small to allow for easy rolling.
How can I make these roll-ups spicy?
Add a sprinkle of chili flakes inside the roll or use a spicy cheese like pepper jack.
Is it possible to bake these instead of frying?
Yes, you can bake them in a preheated oven at 375°F (190°C) for about 10-12 minutes or until golden brown, turning them halfway through.
Can I freeze the roll-ups?
It’s not recommended to freeze them, as the texture of the bread may become soggy upon reheating.
Conclusion
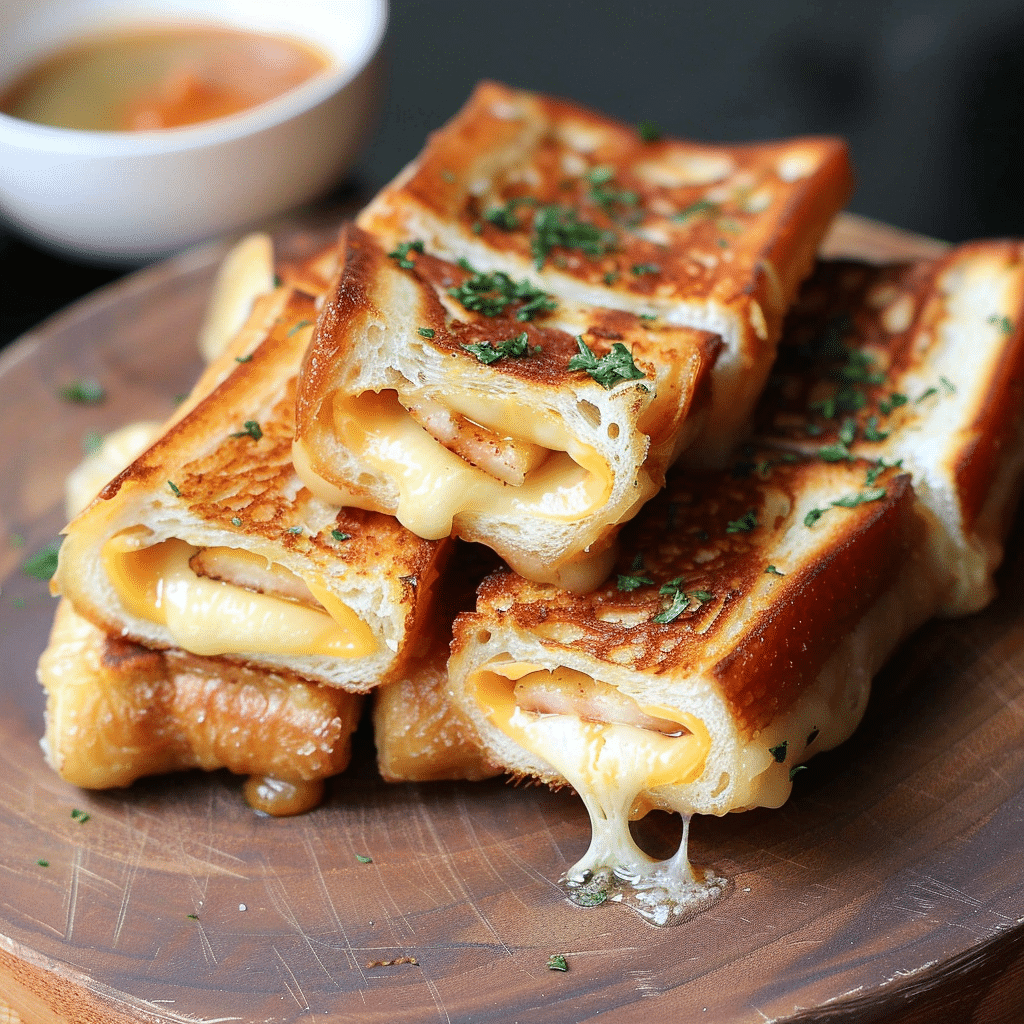
Grilled Cheese Roll-Ups offer a delightful and versatile way to enjoy the classic flavors of a grilled cheese sandwich in a fun, dippable format. Whether you’re making a quick snack for kids or serving them as appetizers at a gathering, these roll-ups are sure to be a hit. Feel free to experiment with different cheeses and fillings to make them your own.
Grilled Cheese Roll-Ups
- Total Time: 15 minutes
- Yield: 8 roll-ups (serves 4)
- Diet: Vegetarian
Description
Grilled Cheese Roll-Ups are a fun, kid-friendly twist on the classic grilled cheese sandwich. With a crispy exterior and gooey cheese center, these roll-ups are perfect for dipping in tomato soup or enjoying on their own as a quick snack or meal. Customize them with different cheeses, fillings, or breads for a versatile comfort food that everyone will love.
Ingredients
- 8 slices of soft white bread
- 8 slices of cheddar cheese
- 2 tablespoons butter, melted
Instructions
- Prepare the Bread: Trim crusts from the bread slices and use a rolling pin to flatten each piece to about 1/4-inch thickness.
- Add Cheese and Roll: Place a slice of cheddar cheese on each flattened bread piece, roll tightly, and gently press to seal edges.
- Butter the Roll-Ups: Brush the outside of each roll-up with melted butter, ensuring all sides are coated.
- Cook: Heat a non-stick skillet over medium heat. Place roll-ups seam-side down in the skillet and cook for 3-4 minutes, turning occasionally, until golden brown on all sides and the cheese is melted.
- Serve: Remove from skillet and serve immediately, ideally with tomato soup or your favorite dipping sauce.
Notes
- Cheese Options: Try mozzarella, Swiss, or pepper jack for variety.
- Add-Ins: Include ham, turkey, or bacon for extra flavor.
- Storage: Keep leftovers in an airtight container in the fridge for up to 3 days.
- Reheating Tip: Reheat in a skillet or oven for best results.
- Prep Time: 10 minutes
- Cook Time: 5 minutes
- Category: Snacks, Appetizers
- Method: Skillet Cooking
- Cuisine: American
