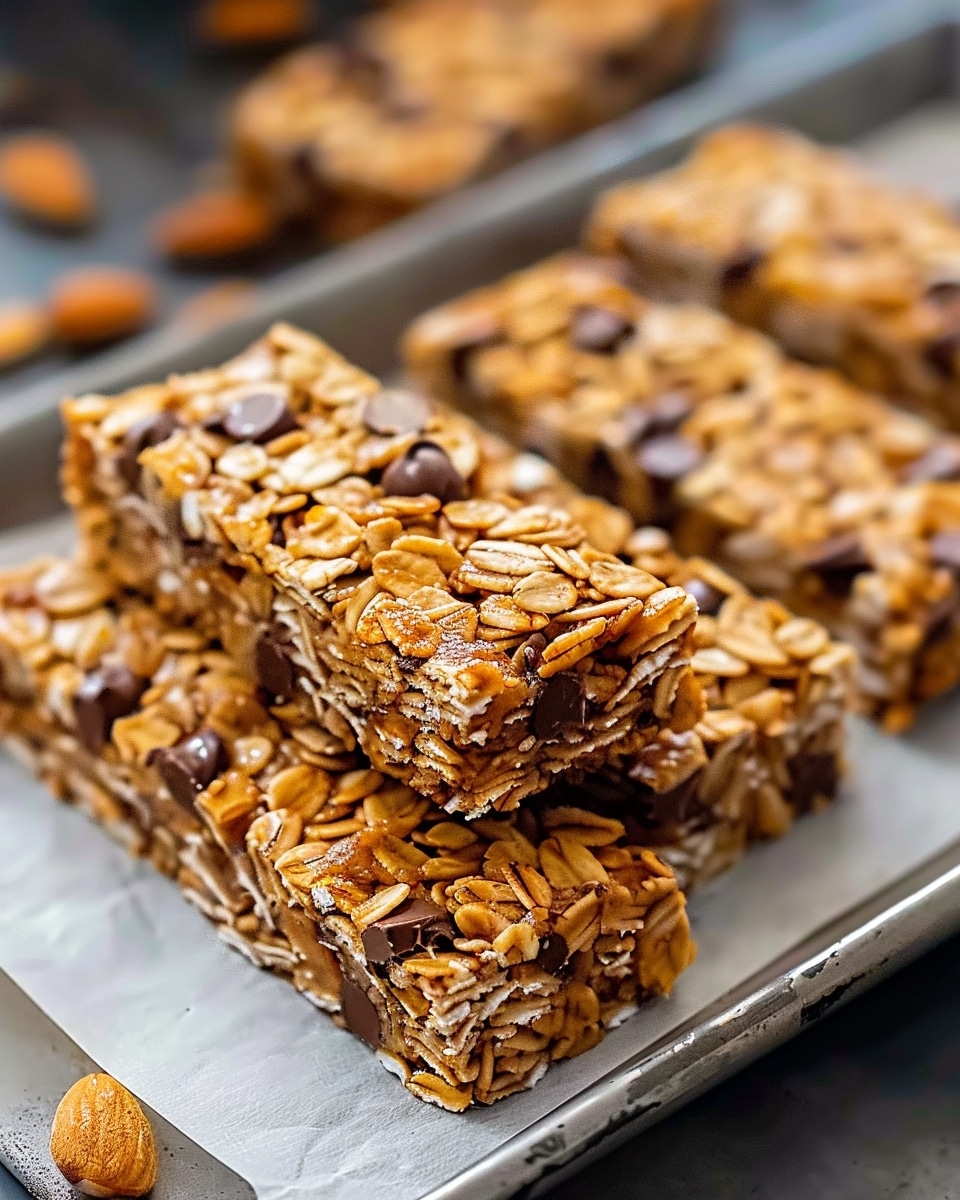
These Homemade No-Bake Granola Bars are a perfect snack that’s quick, customizable, and packed with nutritious ingredients. They require no oven, making them incredibly easy to prepare. Plus, they are budget-friendly, giving you full control over the ingredients—no hidden sugars or preservatives like in store-bought bars. Whether you need a quick breakfast, lunchbox snack, or something to curb your mid-afternoon hunger, these bars are a great choice. You can make them your own by adding your favorite nuts, seeds, or dried fruits.
Ingredients
2 cups old-fashioned rolled oats
½ cup nut butter (peanut butter, almond butter, or cashew butter)
⅓ cup honey (or maple syrup, or agave)
½ cup mix-ins (chocolate chips, dried fruit, seeds, or nuts)
1 teaspoon vanilla extract (optional)
Pinch of salt
(Tip: You’ll find the full list of ingredients and measurements in the recipe card below.)
Directions
Prepare Your Pan: Line an 8×8-inch baking dish with parchment paper, leaving extra paper hanging over the sides for easy removal.
Mix Dry Ingredients: In a large bowl, combine the oats and your choice of mix-ins, such as chocolate chips, dried fruits, or seeds.
Heat Wet Ingredients: In a small saucepan over low heat, melt the nut butter and honey (or maple syrup/agave) together, stirring until smooth. Stir in vanilla extract and a pinch of salt if desired.
Combine Wet and Dry Ingredients: Pour the melted mixture over the oat mixture and stir well to combine.
Press into the Pan: Transfer the mixture into your prepared baking dish, pressing it down firmly to ensure it’s compact and even.
Chill: Refrigerate for at least 2 hours, or until the bars are firm enough to cut.
Slice and Serve: Lift the bars out using the parchment paper and cut into 10-12 bars. Enjoy immediately or store for later!
Servings and Timing
Servings: 10 bars
Prep Time: 10 minutes
Chilling Time: 2 hours
Total Time: 2 hours 10 minutes
Variations
Gluten-Free: Use certified gluten-free oats.
Vegan: Swap honey for maple syrup or agave, and ensure your chocolate chips and other add-ins are vegan.
Nut-Free: Replace the nut butter with sunflower seed butter or tahini. You can also use seed-based add-ins like pumpkin or sunflower seeds.
Storage/Reheating
Room Temperature: Store in an airtight container at room temperature for up to 1 week.
Refrigeration: Keep in the fridge for up to 2 weeks for longer freshness.
Freezing: Individually wrap bars in plastic wrap and store them in a freezer-safe container for up to 3 months.
FAQs
Can I store them at room temperature?
Yes, store the bars in an airtight container at room temperature for up to one week. For longer storage, refrigerate or freeze them.
How do I prevent the bars from falling apart?
Make sure to press the mixture firmly into the pan and refrigerate for at least 2 hours before slicing.
What are some great add-ins for these bars?
You can include chocolate chips, dried cranberries, raisins, chia seeds, flaxseeds, or coconut flakes.
Can I make these granola bars without nut butter?
Yes, you can substitute nut butter with seed-based alternatives like sunflower seed butter or tahini.
Are these granola bars gluten-free?
Yes, as long as you use certified gluten-free oats.
How long will the bars stay fresh?
They stay fresh for up to 1 week at room temperature and up to 2 weeks in the fridge.
Can I use maple syrup instead of honey?
Yes, maple syrup is a great substitute for honey, making this recipe vegan-friendly.
Can I add chocolate chips?
Yes, dark chocolate chips or any type of chocolate chips can be added to your granola bars.
How can I make these granola bars lower in sugar?
You can reduce the amount of honey or syrup, or substitute with a natural sweetener like stevia or monk fruit.
Can I make a bigger batch?
Yes, simply double the ingredients and use a larger pan to accommodate the increased quantity.
Conclusion
Homemade no-bake granola bars are an easy, customizable, and healthy snack that’s great for any occasion. With just a few simple ingredients, you can make a batch of nutritious bars to enjoy throughout the week. Whether you’re looking for a quick breakfast or an on-the-go snack, these bars are a versatile solution that fits into any diet. Try them today and enjoy a delicious, homemade snack that’s as easy as it is tasty!
These Homemade No-Bake Granola Bars are a perfect, quick, and customizable snack. Packed with nutritious ingredients like oats, nut butter, and honey, these bars are easy to prepare with no baking required. They’re a healthier, budget-friendly alternative to store-bought bars, and can be tailored with your favorite add-ins, such as nuts, seeds, or dried fruit. Perfect for breakfast, lunchboxes, or an afternoon snack. Store them at room temperature or freeze them for later!
Ingredients
2 cups old-fashioned rolled oats
½ cup nut butter (peanut butter, almond butter, or cashew butter)
⅓ cup honey (or maple syrup, or agave)
½ cup mix-ins (chocolate chips, dried fruit, seeds, or nuts)
1 teaspoon vanilla extract (optional)
Pinch of salt
Instructions
Prepare Your Pan: Line an 8×8-inch baking dish with parchment paper, leaving extra paper hanging over the sides for easy removal.
Mix Dry Ingredients: In a large bowl, combine the oats and your choice of mix-ins (chocolate chips, dried fruits, seeds, etc.).
Heat Wet Ingredients: In a small saucepan over low heat, melt the nut butter and honey (or maple syrup/agave) together, stirring until smooth. Stir in vanilla extract and a pinch of salt, if desired.
Combine Wet and Dry Ingredients: Pour the melted mixture over the oat mixture and stir well to combine.
Press into the Pan: Transfer the mixture into your prepared baking dish, pressing it down firmly to ensure it’s compact and even.
Chill: Refrigerate for at least 2 hours, or until the bars are firm enough to cut.
Slice and Serve: Lift the bars out using the parchment paper and cut into 10-12 bars. Enjoy immediately or store for later!
Notes
Storage: Store bars at room temperature for up to 1 week, refrigerate for up to 2 weeks, or freeze for up to 3 months.
Make-Ahead: Double the recipe to make a larger batch. These bars are perfect for meal prep!

