Why You’ll Love This Recipe
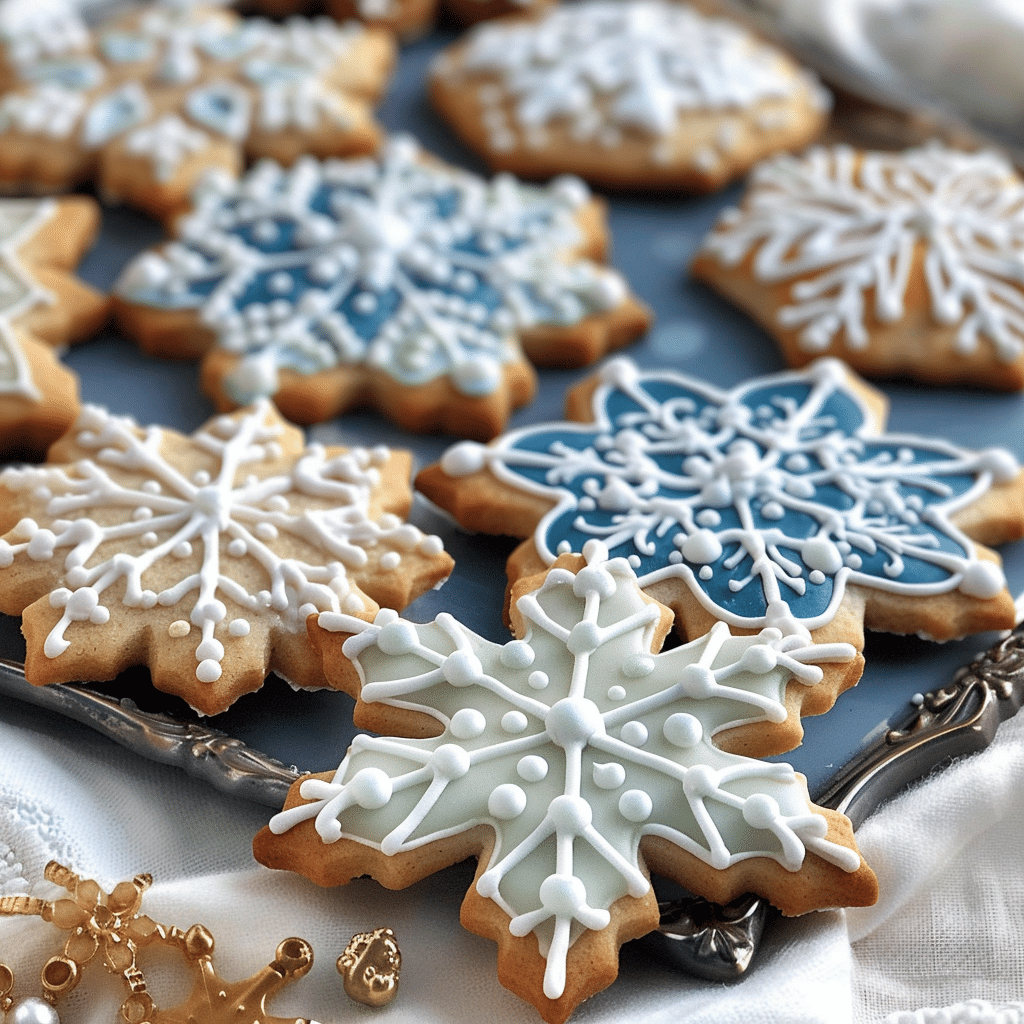
- Visually Stunning: Intricate snowflake designs make these cookies a showstopper for any holiday table.
- Customizable: Personalize the designs and colors to match your holiday theme.
- Delicious and Buttery: A classic sugar cookie base with a hint of vanilla (and almond, if desired) creates a melt-in-your-mouth texture.
- Fun for All Ages: A delightful activity for families to enjoy together during the holidays.
Ingredients
(Tip: You’ll find the full list of ingredients and measurements in the recipe card below.)
For the Cookies
- All-purpose flour
- Baking powder
- Salt
- Unsalted butter, softened
- Granulated sugar
- Large egg
- Vanilla extract
- Almond extract (optional)
For the Royal Icing
- Powdered sugar
- Meringue powder
- Water (adjust for consistency)
- Food coloring (blue and white)
- Edible pearl decorations or silver sprinkles
Directions
Make the Dough
- In a medium bowl, whisk together flour, baking powder, and salt.
- In a large bowl, beat the butter and sugar with an electric mixer until light and fluffy.
- Mix in the egg, vanilla extract, and almond extract (if using).
- Gradually incorporate the dry ingredients until the dough comes together.
- Shape the dough into a disk, wrap it in plastic wrap, and refrigerate for 1 hour.
Cut and Bake
- Preheat your oven to 350°F (175°C) and line baking sheets with parchment paper.
- Roll out the chilled dough on a floured surface to 1/4-inch thickness.
- Use snowflake-shaped cookie cutters to cut the dough, then transfer to the prepared baking sheets.
- Bake for 8–10 minutes, or until the edges turn lightly golden. Cool completely on a wire rack.
Prepare the Royal Icing
- In a bowl, whisk together powdered sugar, meringue powder, and water until smooth.
- Adjust consistency as needed: thicker icing for piping and details, thinner icing for flooding.
- Divide the icing and tint with food coloring to create desired shades.
Decorate the Cookies
- Outline the cookies with thicker icing, then flood the centers with thinner icing.
- Use white icing to create intricate snowflake designs.
- Embellish with edible pearls or silver sprinkles for added sparkle.
- Let the cookies dry completely in a cool, dry space for 8–12 hours before serving or stacking.
Servings and Timing
- Prep Time: 30 minutes
- Chill Time: 1 hour
- Cook Time: 10 minutes
- Yield: 20–25 cookies
Variations
- Flavored Icing: Add a hint of citrus zest or extract (e.g., lemon or orange) to the icing for a fresh twist.
- Gluten-Free Option: Substitute all-purpose flour with a gluten-free flour blend.
- Sparkling Sugar: Swap out sprinkles for sparkling sugar to enhance the wintery feel.
- Colored Designs: Experiment with other colors like gold, silver, or green for a unique holiday look.
Storage/Reheating
- Storage: Store decorated cookies in an airtight container at room temperature for up to one week.
- Freezing: Undecorated cookies can be frozen for up to three months. Thaw, then decorate as desired.
- Reheating: These cookies don’t require reheating. Serve them at room temperature for the best taste and texture.
FAQs
1. Can I make the dough ahead of time?
Yes, you can refrigerate the dough for up to 3 days or freeze it for up to 3 months.
2. How can I ensure my cookies don’t spread during baking?
Chill the cut-out cookies for 10 minutes in the freezer before baking to help them retain their shape.
3. Can I use store-bought icing?
Yes, but homemade royal icing offers better control for intricate designs.
4. What’s the best way to thin royal icing?
Add water 1 teaspoon at a time until the desired consistency is achieved.
5. Can I skip the meringue powder?
Meringue powder is essential for the royal icing’s stability. Alternatives like pasteurized egg whites can work, but the results may vary.
6. How do I avoid air bubbles in my icing?
Mix the icing slowly and let it rest for a few minutes before using.
7. Are these cookies suitable for gifting?
Absolutely! Package them in festive boxes or cellophane bags for beautiful edible gifts.
8. Can I make these cookies without a snowflake cutter?
Yes, use any cookie cutter shape you have on hand.
9. How long does it take for royal icing to dry?
Allow 8–12 hours for the icing to set completely.
10. Can I use gel food coloring?
Yes, gel food coloring works well and provides vibrant colors without altering the icing’s consistency.
Conclusion
Snowflake sugar cookies with royal icing are a festive addition to your holiday baking repertoire. With their delicate designs and buttery flavor, these cookies are sure to be a hit. Whether you’re sharing them with loved ones or enjoying them as a creative project, they bring the perfect touch of winter magic.

Snowflake Sugar Cookies with Royal Icing
- Total Time: 1 hour 40 minutes
- Yield: 20–25 cookies
- Diet: Vegetarian
Description
Create elegant and festive snowflake sugar cookies with royal icing. Perfect for holidays, these buttery cookies are easy to customize and great for gifting, parties, or family activities.
Ingredients
For the Cookies
- 2 ½ cups all-purpose flour
- 1 teaspoon baking powder
- ½ teaspoon salt
- ¾ cup unsalted butter, softened
- 1 cup granulated sugar
- 1 large egg
- 1 teaspoon vanilla extract
- ½ teaspoon almond extract (optional)
For the Royal Icing
- 3 cups powdered sugar
- 2 tablespoons meringue powder
- 4–5 tablespoons water (adjust for consistency)
- Blue and white food coloring
- Edible pearl decorations or silver sprinkles
Instructions
- Make the Dough:
- In a medium bowl, whisk flour, baking powder, and salt.
- In a large bowl, beat butter and sugar until light and fluffy.
- Mix in the egg, vanilla extract, and almond extract (if using).
- Gradually add dry ingredients until dough forms.
- Shape into a disk, wrap in plastic wrap, and refrigerate for 1 hour.
- Cut and Bake:
- Preheat oven to 350°F (175°C) and line baking sheets with parchment paper.
- Roll out dough to 1/4-inch thickness on a floured surface.
- Cut with snowflake-shaped cookie cutters and transfer to baking sheets.
- Bake 8–10 minutes until edges are golden. Cool completely.
- Prepare Royal Icing:
- Whisk powdered sugar, meringue powder, and water until smooth.
- Adjust thickness as needed for piping and flooding.
- Divide and tint icing with food coloring.
- Decorate:
- Outline cookies with thicker icing; flood centers with thinner icing.
- Create snowflake designs with white icing.
- Embellish with pearls or sprinkles. Let dry 8–12 hours.
Notes
- Chill cut-out cookies before baking to prevent spreading.
- Adjust icing consistency gradually with water.
- Store cookies in an airtight container for up to a week.
- Prep Time: 30 minutes
- Chill Time: 1 hour
- Cook Time: 10 minutes
- Category: Dessert
- Method: Baking
- Cuisine: American

