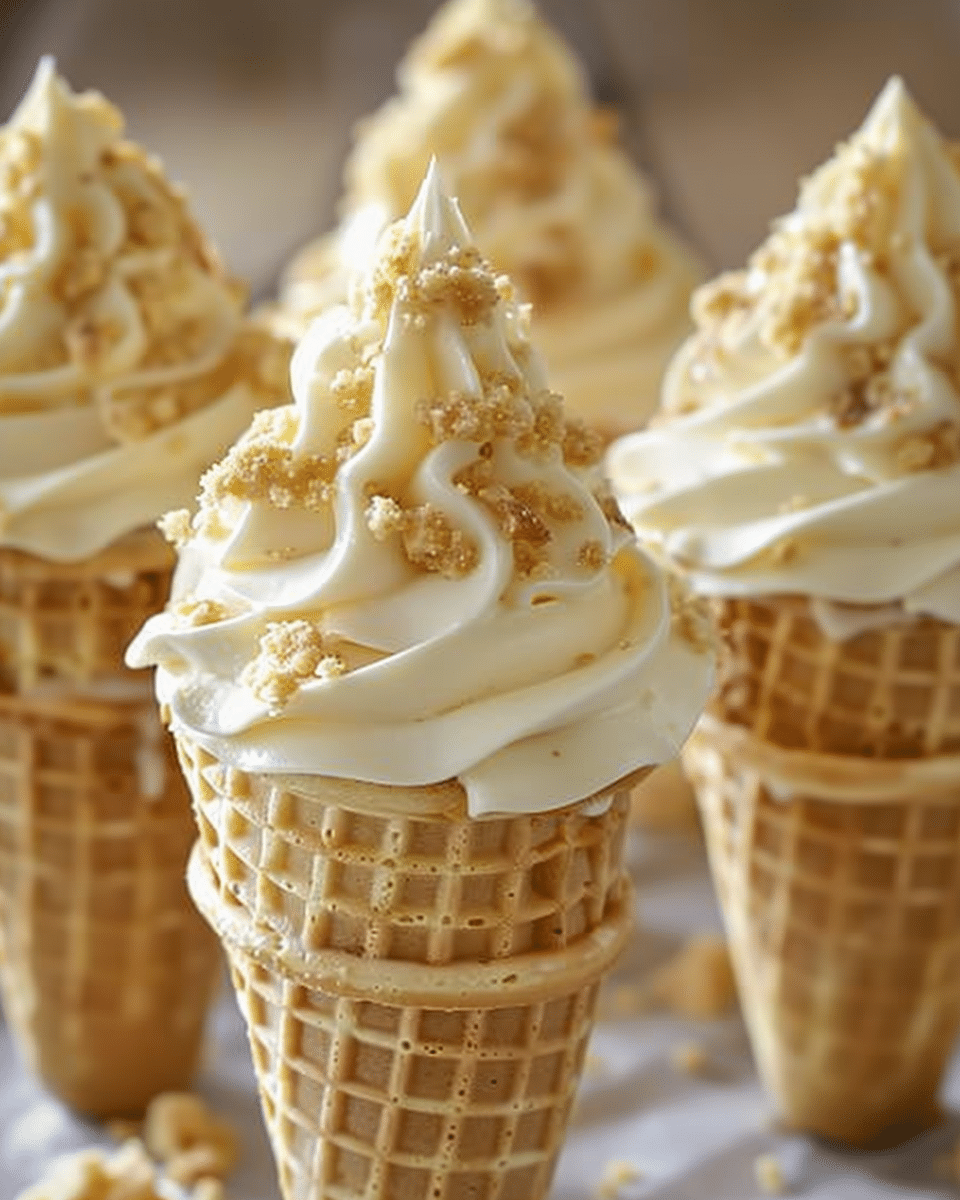
Why You’ll Love This Recipe
- Fun and Portable: Served in individual cones, these desserts are easy to enjoy on the go, making them ideal for events and picnics.
- Delicious Layers: Each cone features a crunchy base, a creamy cheesecake filling, sweet banana slices, and a rich banana pudding topping, offering a symphony of flavors and textures in every bite.
- Customizable: Feel free to add your favorite toppings, such as whipped cream, caramel drizzle, or crushed nuts, to make them your own.
Ingredients
For the Cheesecake Filling:
- 16 oz cream cheese, softened
- 1 cup powdered sugar
- 1 tsp vanilla extract
- 1 cup sour cream
- 1 cup heavy cream
- ½ cup banana puree (about 2 ripe bananas)
- ½ cup crushed vanilla wafers
- ½ tsp ground cinnamon (optional)
For the Banana Pudding:
- 2 cups whole milk
- ½ cup granulated sugar
- ¼ cup cornstarch
- ¼ tsp salt
- 1 tsp vanilla extract
- 2 ripe bananas, sliced
For Assembly:
- 12 ice cream cones (waffle or sugar cones)
- Whipped cream (optional)
- Additional sliced bananas (optional)
- Extra crushed vanilla wafers (optional)
(Tip: You’ll find the full list of ingredients and measurements in the recipe card below.)
Directions
-
Prepare the Banana Pudding:
- In a saucepan, whisk together the milk, sugar, cornstarch, and salt. Cook over medium heat until the mixture thickens.
- Stir in the vanilla extract. Allow the pudding to cool, then refrigerate until chilled.
-
Prepare the Cheesecake Filling:
- In a large bowl, beat the softened cream cheese until smooth.
- Add the powdered sugar and vanilla extract, and beat until well combined.
- In a separate bowl, whip the heavy cream until stiff peaks form.
- Fold the whipped cream into the cream cheese mixture.
- Gently fold in the banana puree, crushed vanilla wafers, and cinnamon (if using).
- Chill the cheesecake filling in the refrigerator for at least 30 minutes.
-
Assemble the Cones:
- Fill each ice cream cone with a layer of cheesecake filling.
- Top the cheesecake layer with sliced bananas.
- Spoon the chilled banana pudding over the banana slices.
- Garnish with whipped cream, additional banana slices, and extra crushed vanilla wafers if desired.
-
Serve:
- Serve immediately, or refrigerate until ready to enjoy.
Servings and Timing
- Servings: This recipe yields 12 cones.
- Preparation Time: Approximately 25 minutes.
- Chilling Time: At least 30 minutes for the cheesecake filling; the assembled cones can be refrigerated until ready to serve.
Variations
- Gluten-Free: Use gluten-free ice cream cones and ensure the vanilla wafers are gluten-free.
- Fruit Options: Swap banana slices for other fruits like strawberries or blueberries for a different twist.
- Flavor Enhancements: Add a drizzle of caramel or chocolate sauce over the pudding layer for extra sweetness.
Storage/Reheating
- Storage: Assembled cones are best served immediately to maintain the cone’s crunchiness. If storing, place them upright in an airtight container and refrigerate for up to 2 hours.
- Reheating: Not applicable, as these are served chilled.
FAQs
Can I use store-bought pudding?
Yes, you can substitute homemade banana pudding with store-bought instant banana pudding mix for convenience.
How can I prevent the cones from getting soggy?
To keep the cones crisp, assemble the cones just before serving. Alternatively, serve the filling and pudding in separate bowls alongside the cones for dipping.
Can I make these ahead of time?
You can prepare the cheesecake filling and banana pudding a day ahead and refrigerate them. Assemble the cones just before serving to maintain the cone’s crunch.
Can I use regular-sized cones instead of mini cones?
Yes, you can use regular-sized cones. Adjust the amount of filling and pudding accordingly to suit the larger size.
How do I store leftover cones?
Store any leftover cones in an airtight container in the refrigerator for up to 2 days. Note that the cones may lose their crunch over time.
Can I freeze these cones?
It’s not recommended to freeze the assembled cones, as the texture of the cone and filling may be affected. However, you can freeze the cheesecake filling and banana pudding separately, then assemble fresh cones when ready to serve.
Can I use a different type of fruit?
Certainly! Feel free to use other fruits like strawberries, blueberries, or peaches as a topping or mix-in.
How do I make the banana puree?
Simply blend ripe bananas in a blender or mash them with a fork until smooth.
Are these cones suitable for a gluten-free diet?
Yes, by using gluten-free cones and vanilla wafers, this recipe can be made gluten-free.
Can I add more flavors to the cheesecake filling?
You can experiment by adding different flavor extracts like almond or coconut to the cheesecake filling for a unique twist.
Conclusion
Banana Pudding Cheesecake Cones offer a fun, portable dessert that combines the creamy indulgence of cheesecake with the sweet nostalgia of banana pudding. Easy to make and perfect for any occasion, these cones are sure to be a hit with everyone. Enjoy experimenting with different variations and toppings to make them your own
Print
Banana Pudding Cheesecake Cones
- Total Time: 55 minutes (including chilling)
- Yield: 12 cones
- Diet: Gluten Free
Description
Banana Pudding Cheesecake Cones are a fun and indulgent dessert combining the creamy richness of cheesecake and the nostalgic flavors of banana pudding, all served in a crunchy cone. Perfect for gatherings, picnics, or as a special treat, these individual servings feature layers of creamy cheesecake filling, sweet banana slices, and banana pudding topped with whipped cream and crushed vanilla wafers. Customize them with your favorite toppings for a delightful dessert experience!
Ingredients
For the Cheesecake Filling:
- 16 oz cream cheese, softened
- 1 cup powdered sugar
- 1 tsp vanilla extract
- 1 cup sour cream
- 1 cup heavy cream
- ½ cup banana puree (about 2 ripe bananas)
- ½ cup crushed vanilla wafers
- ½ tsp ground cinnamon (optional)
For the Banana Pudding:
- 2 cups whole milk
- ½ cup granulated sugar
- ¼ cup cornstarch
- ¼ tsp salt
- 1 tsp vanilla extract
- 2 ripe bananas, sliced
For Assembly:
- 12 ice cream cones (waffle or sugar cones)
- Whipped cream (optional)
- Additional sliced bananas (optional)
- Extra crushed vanilla wafers (optional)
Instructions
-
Prepare the Banana Pudding:
- In a saucepan, whisk together the milk, sugar, cornstarch, and salt. Cook over medium heat until the mixture thickens.
- Stir in the vanilla extract and allow the pudding to cool. Refrigerate until chilled.
-
Prepare the Cheesecake Filling:
- In a large bowl, beat the softened cream cheese until smooth.
- Add powdered sugar and vanilla extract; beat until well combined.
- In a separate bowl, whip the heavy cream until stiff peaks form. Fold it into the cream cheese mixture.
- Gently fold in the banana puree, crushed vanilla wafers, and cinnamon (if using). Chill for at least 30 minutes.
-
Assemble the Cones:
- Fill each cone with a layer of cheesecake filling.
- Top with sliced bananas and spoon over the chilled banana pudding.
- Garnish with whipped cream, additional banana slices, and extra crushed vanilla wafers, if desired.
-
Serve:
- Serve immediately or refrigerate until ready to enjoy.
Notes
- Storage: Assemble cones just before serving to maintain their crunch. If storing, place them upright in an airtight container in the refrigerator for up to 2 hours.
- Make Ahead: Prepare the cheesecake filling and banana pudding a day ahead. Assemble the cones just before serving to keep the cones crispy.
- Fruit Variations: Swap the banana slices for strawberries, blueberries, or peaches to create different flavors.
- Gluten-Free: Use gluten-free cones and vanilla wafers for a gluten-free version.
- Prep Time: 25 minutes
- Cook Time: 5 minutes
- Category: Dessert
- Method: No-Bake
- Cuisine: American

