Why You’ll Love This Recipe
- Quick and Easy: Minimal ingredients and a straightforward process make this fudge beginner-friendly.
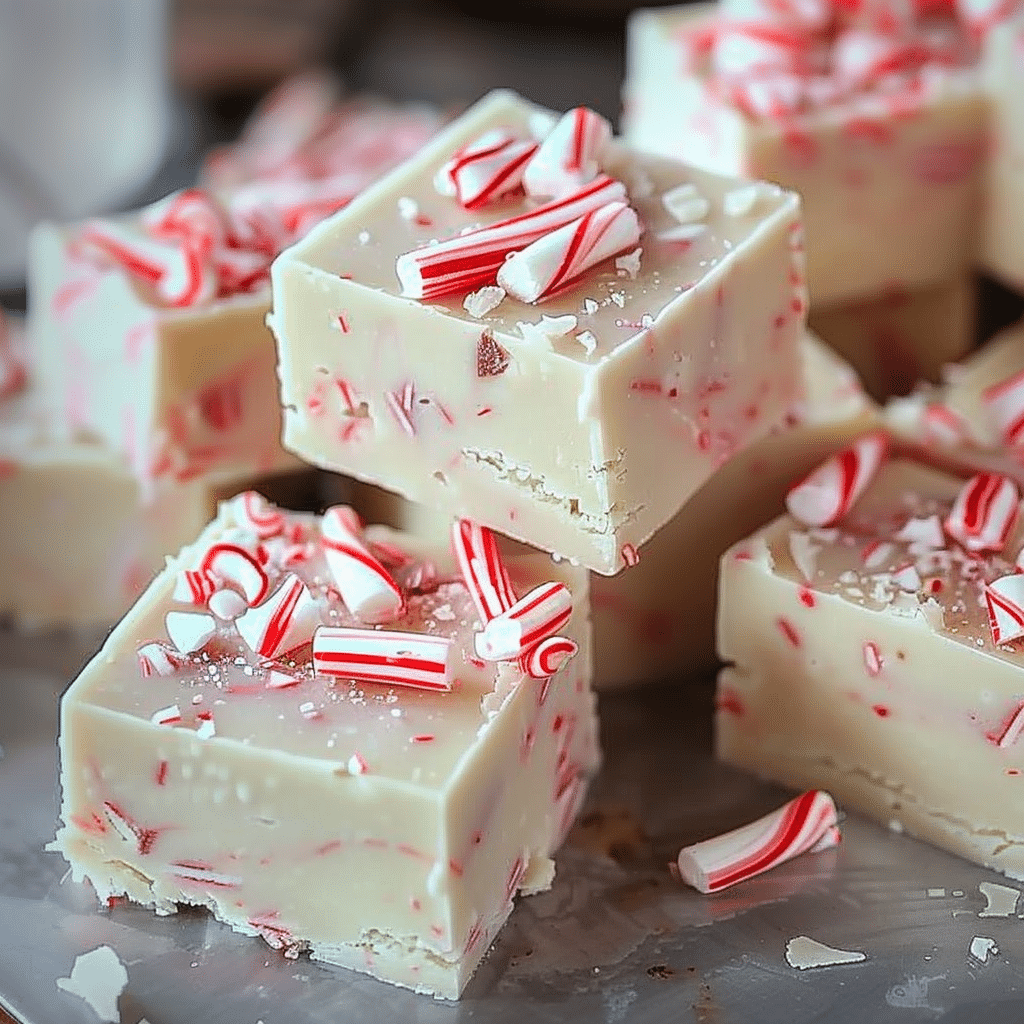
- Festive Appeal: The crushed candy canes give it a vibrant, holiday-perfect look.
- Versatile Treat: Ideal for gift boxes, dessert platters, or an indulgent snack.
- No Baking Required: Enjoy a fuss-free recipe that only needs some chilling time.
Ingredients
(Tip: You’ll find the full list of ingredients and measurements in the recipe card below.)
- White chocolate chips
- Sweetened condensed milk
- Vanilla extract
- Peppermint extract
- Crushed candy canes
Directions
- Prepare the Fudge Base:
- Line an 8×8-inch baking dish with parchment paper, leaving some overhang for easy removal.
- In a medium saucepan, combine white chocolate chips and sweetened condensed milk over low heat. Stir continuously until smooth.
- Add the Flavor:
- Remove the saucepan from heat and stir in the vanilla and peppermint extracts until blended.
- Fold in 1/2 cup of crushed candy canes.
- Pour and Set:
- Pour the mixture into the prepared baking dish, spreading it evenly with a spatula.
- Sprinkle the remaining crushed candy canes over the top and gently press them in.
- Chill:
- Refrigerate the fudge for at least 2 hours, or until firm.
- Serve:
- Lift the fudge out of the dish using the parchment paper.
- Cut into small squares and enjoy!
Servings and Timing
- Servings: About 24 squares
- Prep Time: 10 minutes
- Chill Time: 2 hours
Variations
- Dark Chocolate Twist: Substitute half of the white chocolate chips with dark chocolate chips for a contrasting flavor.
- Extra Crunch: Add crushed nuts like almonds or pistachios for additional texture.
- Layered Fudge: Create a layered effect by pouring a layer of dark chocolate fudge before the white chocolate and candy cane mixture.
- Gluten-Free Option: Use certified gluten-free white chocolate chips and peppermint extract.
Storage/Reheating
- Storage: Store the fudge in an airtight container in the refrigerator for up to 2 weeks.
- Freezing: Wrap individual squares in plastic wrap and place them in a freezer-safe bag. Freeze for up to 3 months.
- Serving from Freezer: Allow frozen fudge to thaw in the refrigerator before serving.
FAQs
1. Can I use other types of chocolate for this recipe?
Yes, you can substitute white chocolate with milk or dark chocolate for a different flavor profile.
2. How do I crush the candy canes?
Place the candy canes in a sealed plastic bag and crush them with a rolling pin or a mallet.
3. Can I use peppermint candies instead of candy canes?
Absolutely, crushed peppermint candies work just as well.
4. Is sweetened condensed milk necessary?
Yes, it’s essential for the creamy texture and sweetness of the fudge.
5. Can I make this fudge dairy-free?
Use dairy-free white chocolate chips and condensed milk alternatives to make this fudge dairy-free.
6. What can I use instead of peppermint extract?
You can omit it or replace it with almond or vanilla extract for a different flavor.
7. Why isn’t my fudge setting?
Ensure you’ve used the correct ratios of ingredients, and refrigerate it long enough to firm up.
8. Can I double the recipe?
Yes, use a larger baking dish and double the ingredients while following the same steps.
9. How long does it take for the fudge to firm up?
Typically, it takes about 2 hours in the refrigerator.
10. Can I add food coloring to the fudge?
Yes, a few drops of red or green food coloring can enhance the festive look.
Conclusion
Candy Cane Fudge is a quick, no-bake treat that captures the spirit of the holidays in every bite. With its creamy texture and refreshing peppermint flavor, it’s bound to be a hit at any gathering. Give it a try and share the holiday cheer with this delightful dessert!
Candy Cane Fudge: A Festive Holiday Delight
- Total Time: 25 minutes
- Yield: 4 servings
- Diet: Gluten Free
Description
Shrimp Rice Bowls with Spicy Mayo are a quick and flavorful meal, combining succulent shrimp, fluffy rice, crisp vegetables, and a creamy, spicy sauce. Perfect for busy weeknights or meal prep, this customizable dish is a delightful fusion of textures and tastes.
Ingredients
For the Shrimp:
- 1 lb large shrimp, peeled and deveined
- 2 tablespoons olive oil
- 1 teaspoon garlic powder
- 1 teaspoon paprika
- ½ teaspoon chili powder
- Salt and pepper, to taste
For the Spicy Mayo:
- ½ cup mayonnaise
- 1–2 tablespoons sriracha
- 1 teaspoon lemon juice
For the Bowls:
- 2 cups cooked white rice
- 1 cup shredded carrots
- 1 cup sliced cucumbers
- 1 avocado, sliced
- 2 green onions, thinly sliced
- Sesame seeds, for garnish
Instructions
- Cook the Rice: Prepare rice per package instructions. Fluff with a fork and keep warm.
- Season the Shrimp: Toss shrimp with olive oil, garlic powder, paprika, chili powder, salt, and pepper.
- Sear the Shrimp: Cook shrimp in a hot skillet for 2–3 minutes per side until pink and golden. Set aside.
- Make the Spicy Mayo: Whisk mayonnaise, sriracha, and lemon juice in a small bowl. Adjust spice level as desired.
- Assemble the Bowls: Divide rice into bowls. Top with shrimp, carrots, cucumbers, avocado, and green onions. Drizzle with spicy mayo and sprinkle with sesame seeds.
- Serve: Enjoy warm or mix for a perfectly blended flavor.
Notes
- Substitute white rice with quinoa or cauliflower rice for a healthier option.
- Store components separately in airtight containers for up to 2 days. Reheat shrimp and rice before serving.
- Add pickled onions or edamame for additional flavor and nutrients.
- Prep Time: 10 minutes
- Cook Time: 15 minutes
- Category: Main Course
- Method: Stovetop
- Cuisine: Fusion
